Edit and Customize Your Website and Add Your Logo
Once you've logged into your account, you'll notice several options in the left side panel menu. This is your main Admin Menu.
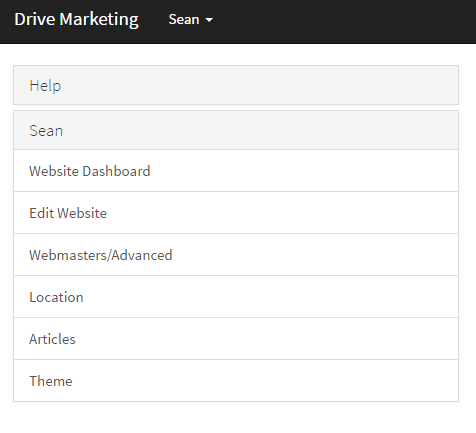
1) Click on the first option, Website Dashboard, to begin. Enter your location's Address, City, and other information. Enter the name of the owner or manager. At the bottom, enter your website address for your main business homepage (such as www.ZandyAutoRepair.com). The information you enter in this page will periodically be added to various sections in the articles that appear on your website. You must complete this step in order to have content published to your account. Save your entries and you'll now see that your website has automatically published 15 articles for your account.
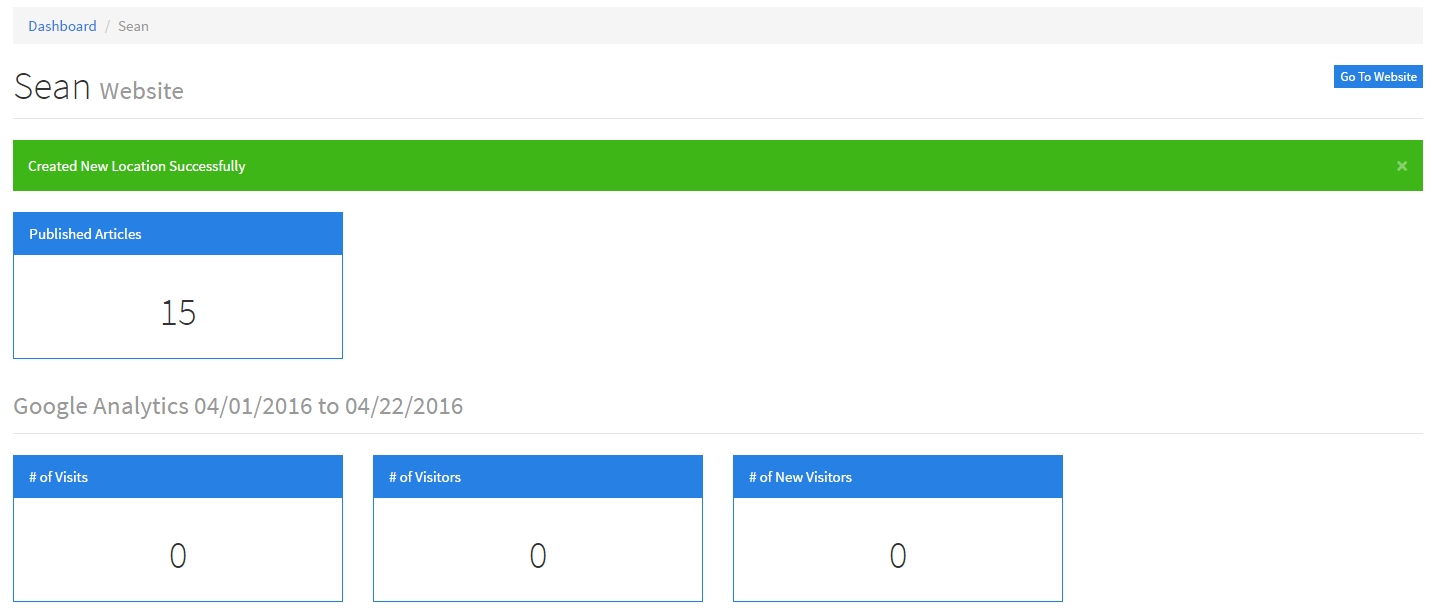
You'll now see a Dashboard that looks like the one below. You can see the total # of articles published to your account, and some basic Google Analytics about visitors to your site. You can also click the blue Go To Website button in the top right to see your website.
2) If you do not see any articles on your website, this is because you have not chosen to Auto Approve Articles. To make sure all new articles are Auto Approved, click on the Edit Website link in the Admin Menu. At the bottom, click the check box next to Auto Approve Articles and click the Save button.
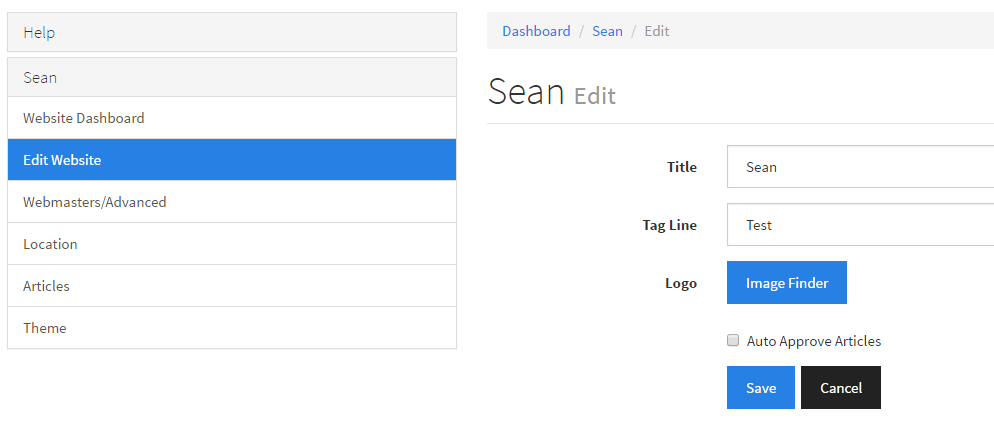
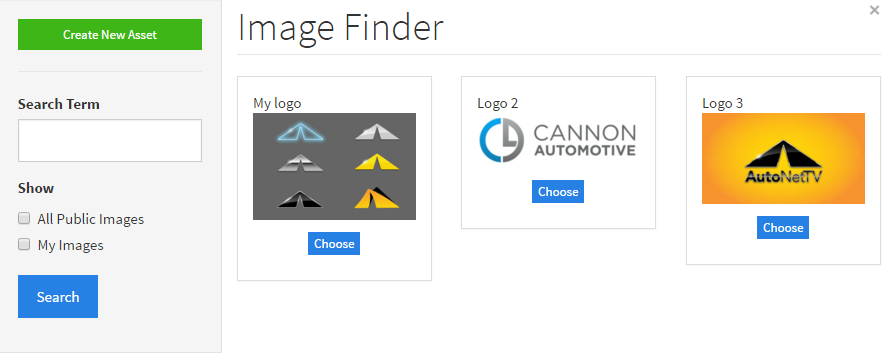
3) In the same Edit Website screen, this is where you will add your business Logo. To do this, click the blue Image Finder button. This will open the Image Finder window shown below.
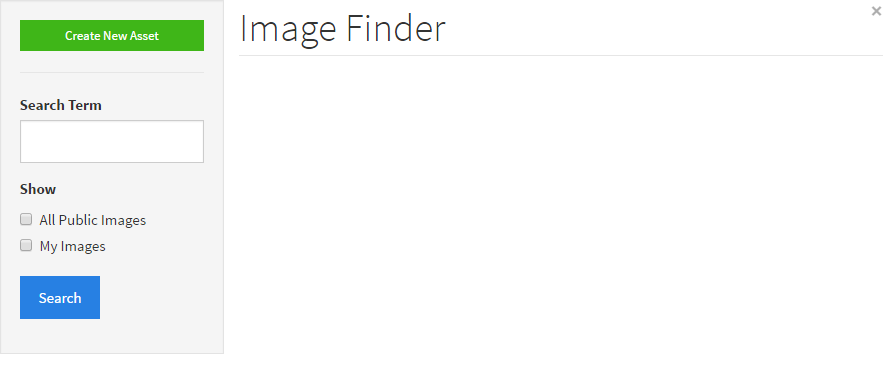
Click the green button to Create New Asset. This will open the dialog to create a new asset. This is done so you can upload many different pictures for different purposes - such as your primary Logo, or other pictures to add to articles we create and add to your account for you, or new articles you decide to create yourself.
Click the Choose File button, as shown below. It will open a window for you to find the image from your computer.
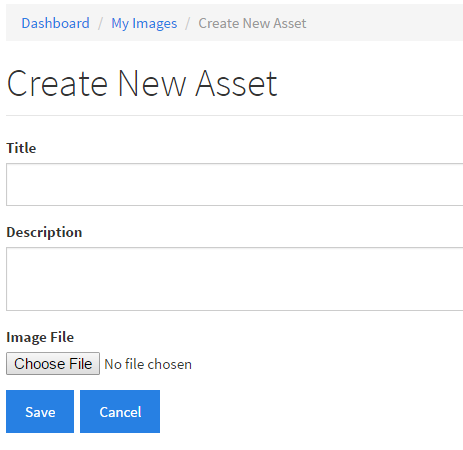
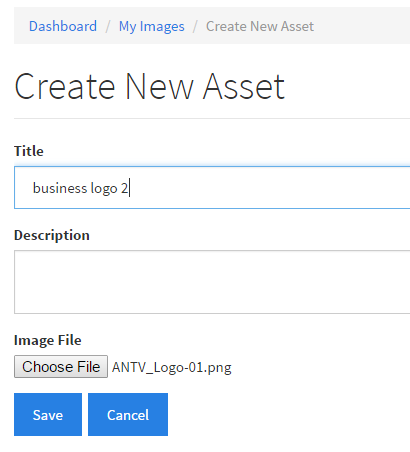
The Image File section will now display the name of the file you will upload. You can also add your own title and description - but only if you want; this is not necessary. When you're done, click the Save button.
Once the upload has finished, you'll see a confirmation that you've successfully created a new image.
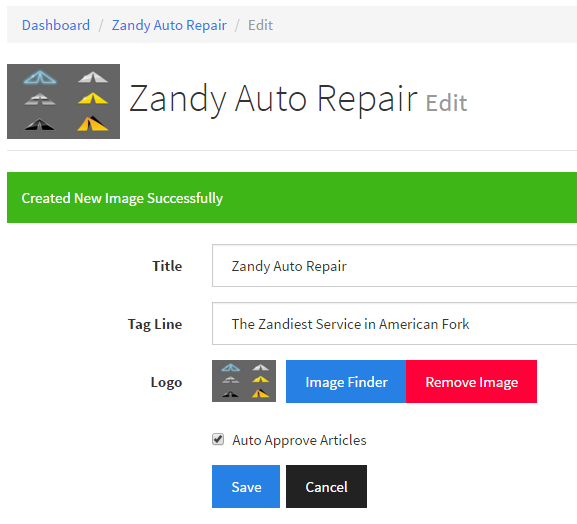
To choose which image you wish to save as your logo, click the blue Image Finder button. This will open a window showing all of the images you have uploaded. Find the one you want to set as your Logo and click Choose.
4) You can edit any of your Location information by clicking on that link on the left side panel menu.
5) Finally, you can click Theme in the left side panel menu to change the colors for your website. Click any section in the left side drop down color options, such as Primary and Active. Make the changes to the colors you'd like, and then click Save.
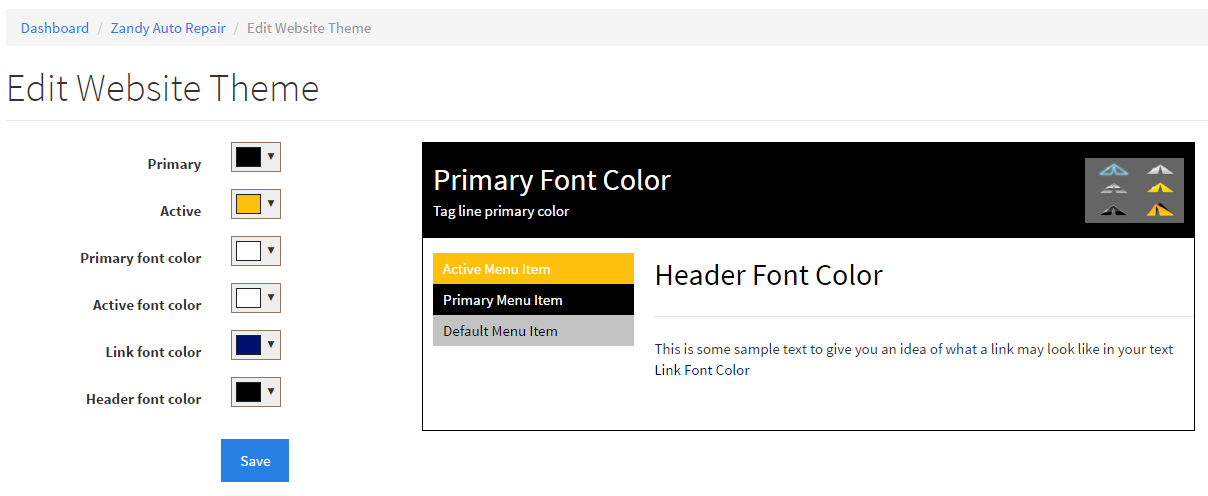
As you can see below, the admin controls now show the colors I've saved and applied to my website. You can edit and save these colors as many times as you need in order to get the right look and feel for your website.
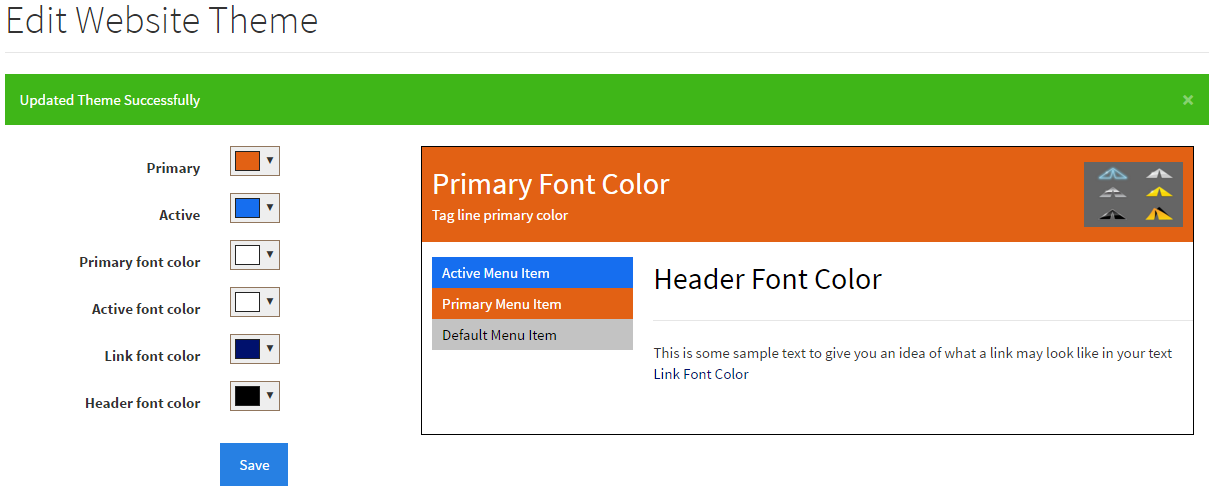
So, in summary, you've now added your business information, chosen for articles to Auto Approve, added your logo, and changed the colors. The website should now look and feel the way you'd like. All articles, pages, etc, will now have your business design.
Customer support service by UserEcho

