Media Player Registration Steps
For printable instructions, click here.
Connecting the Cables and Device
After you obtain your subscription to the AutoNetTV program, you’ll soon receive a media player (mini computer hardware), and the items shown here:
Your first steps are to connect your device to your TV, power, and your internet connection. Follow these steps:
HDMI
Connect one end of the included HDMI cable to the media player, and then into an HDMI port on your TV. Please note the port you’re using on your TV (some TVs have 3 HDMI ports – and you’ll need to choose the port # on your TV Remote Control in order to display the right “channel” or “input”). The HDMI cable carries both video and audio output.

Ethernet cable
For Wired internet (only if this is how you’ll connect the device), use your own Ethernet cable (not included) and plug it into the Ethernet port on the back of the device, and then into your network port – which may be in a wall outlet, or an open port on your internet router. Wireless (Wi-Fi) connectivity information is shown below.

Power Cable
Plug the small end of the included power cord into the back of the device, and then plug the large end into a surge protector outlet (or a power strip). Once plugged in, the device will automatically turn itself on and start.

TV
Turn on your TV and choose the input/source port into which you plugged the device (such as HDMI 1, or HDMI 2). The Input or Source option is always located on the TV remote control, and also often located on the TV itself.
Registering the Device
Before you try to register your device, you must have the following:
- A broadband Internet connection
- For Wi-Fi (Wireless) connections, you must know your Wireless Network Name (SSID) and Password. We do not recommend using guest access wireless to connect.
- If you have any network security (restrictions, Static IP, VPN, MAC Filtering, etc.) you must know this information and have the settings available.
- The media player device - which includes its HDMI cable (for video/audio), power cable and remote control (which you'll need to make selections and enter information). This is shipped in a small, square grey box from AutoNetTV.
Remote Control
The included remote control has only a few buttons. You’ll never use the Home or Power buttons located at top, or the – and + buttons at the bottom. Here’s a description of each.

With your device connected to the TV and to Power (and your Wired Internet - if you are not connecting Wireless), point the remote control at the front of the device for the following registration steps. You will use the included remote control to activate your player.

The following steps are on your TV Screen:
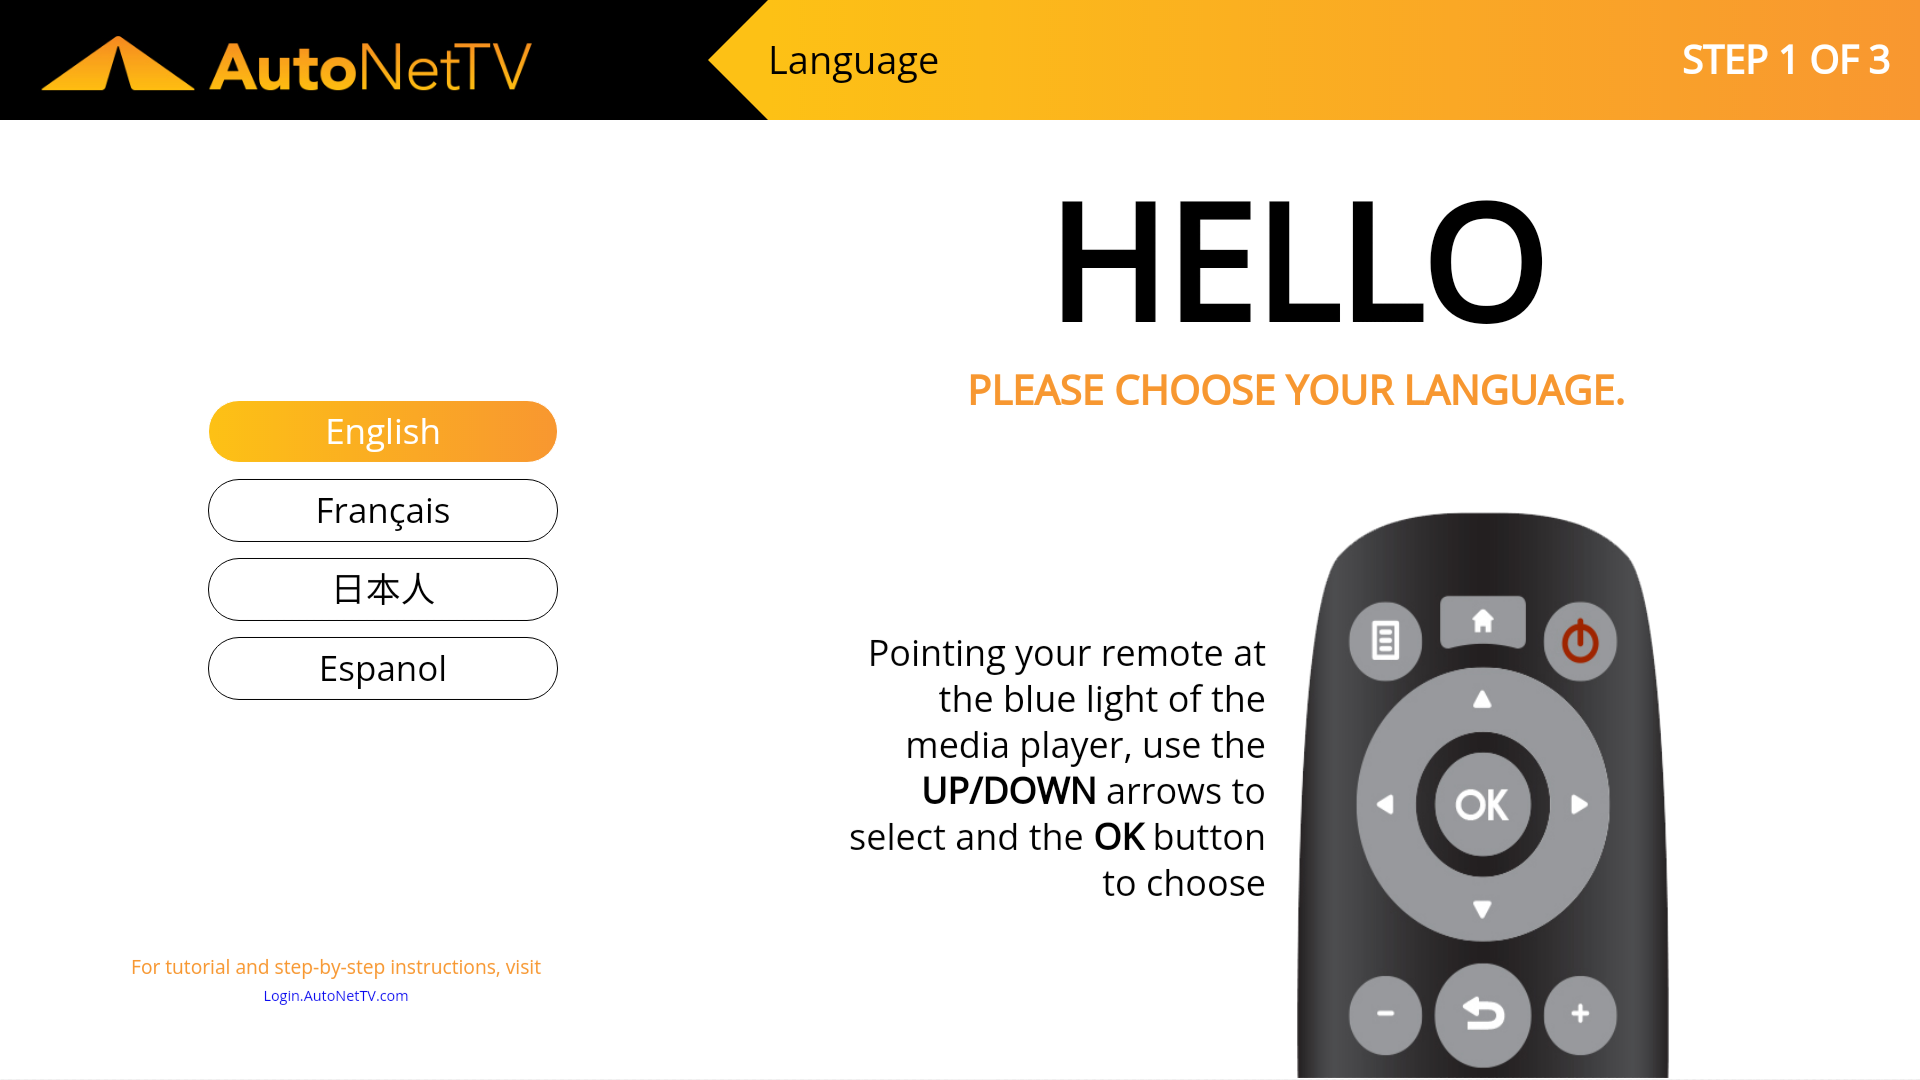
Screen 1 - Choose your language. Press the down arrow one time to highlight your chosen language and click the round OK button.
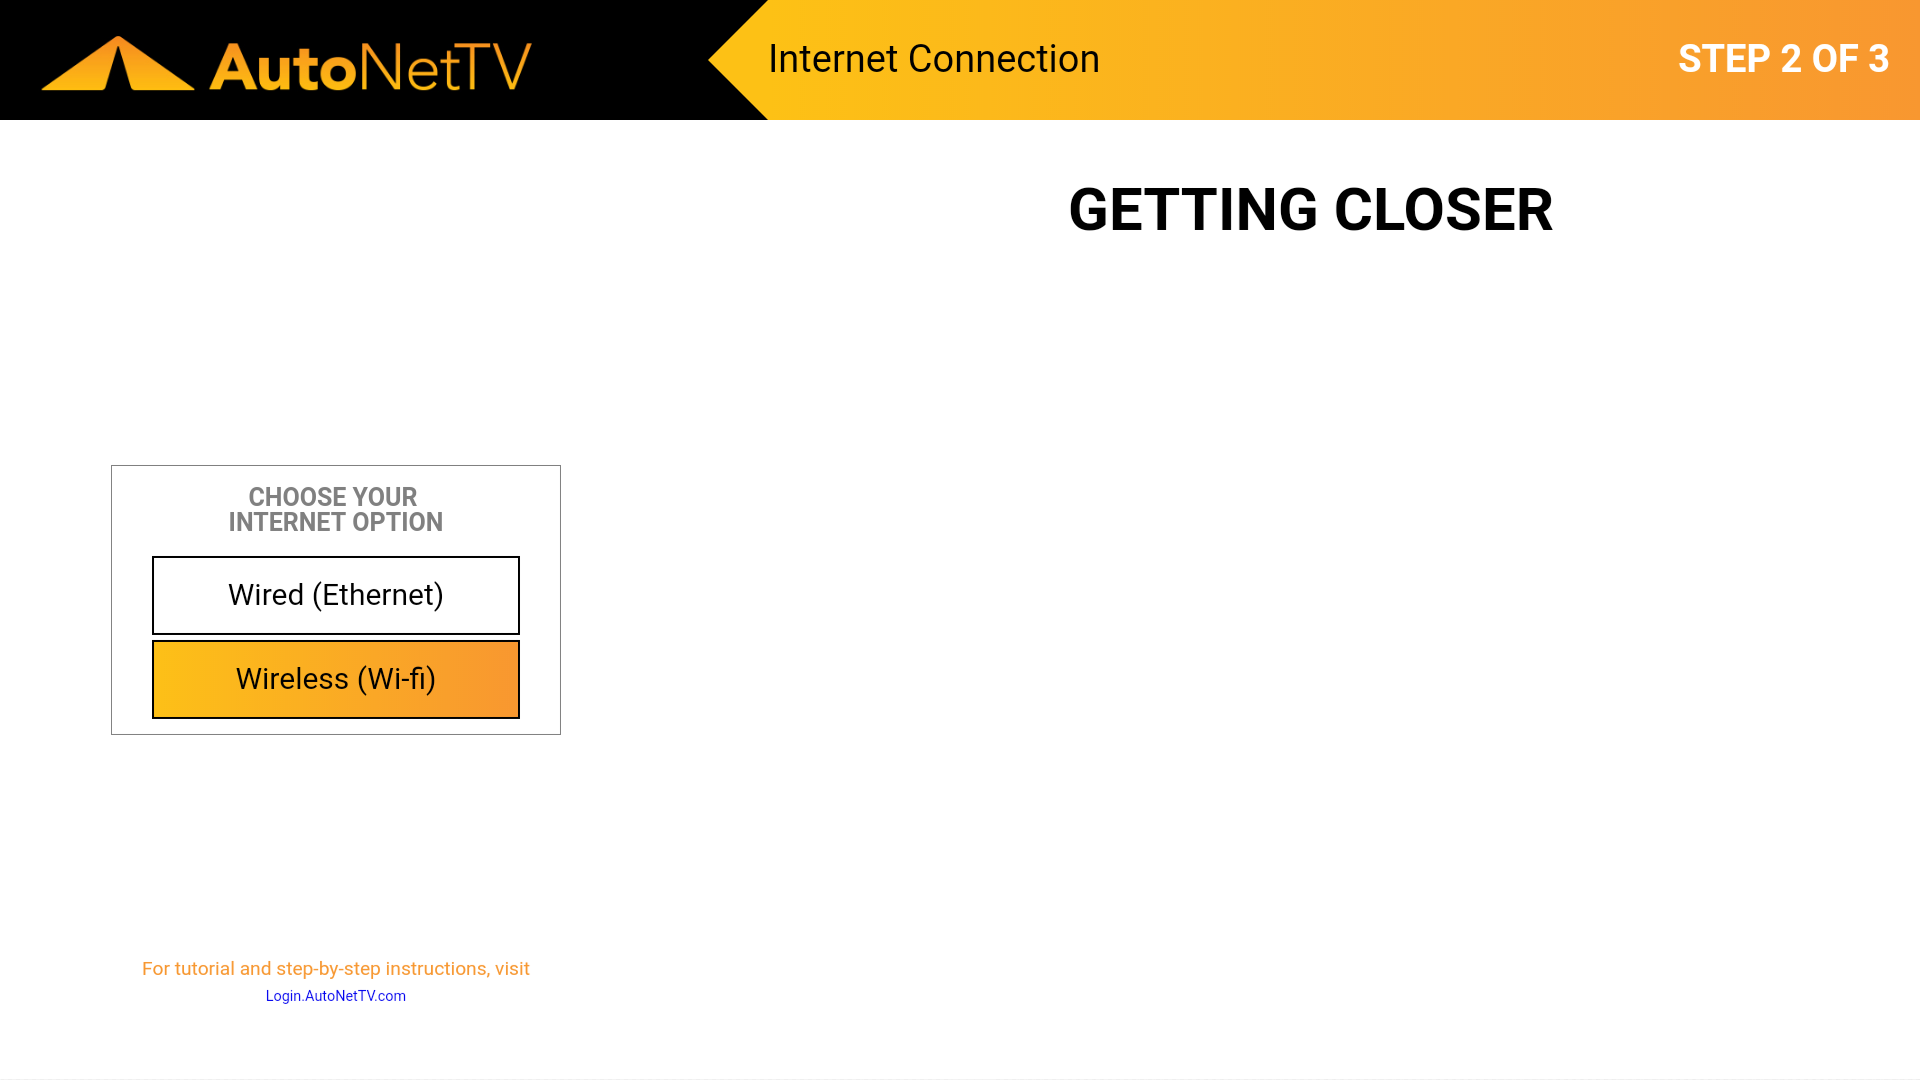
Screen 2 - Choose Internet Connection Type. Press the down arrow to highlight Wired (which requires an Ethernet cable to be plugged into the back of the device and into your router), or Wireless (Wi-Fi) if you will connect to an over-the-air router. If you already plugged in your Ethernet (for Wired), and there are no security restrictions on your network, the device will briefly show a green dot next to your connection, and automatically move to the Activation screen (Step 3).
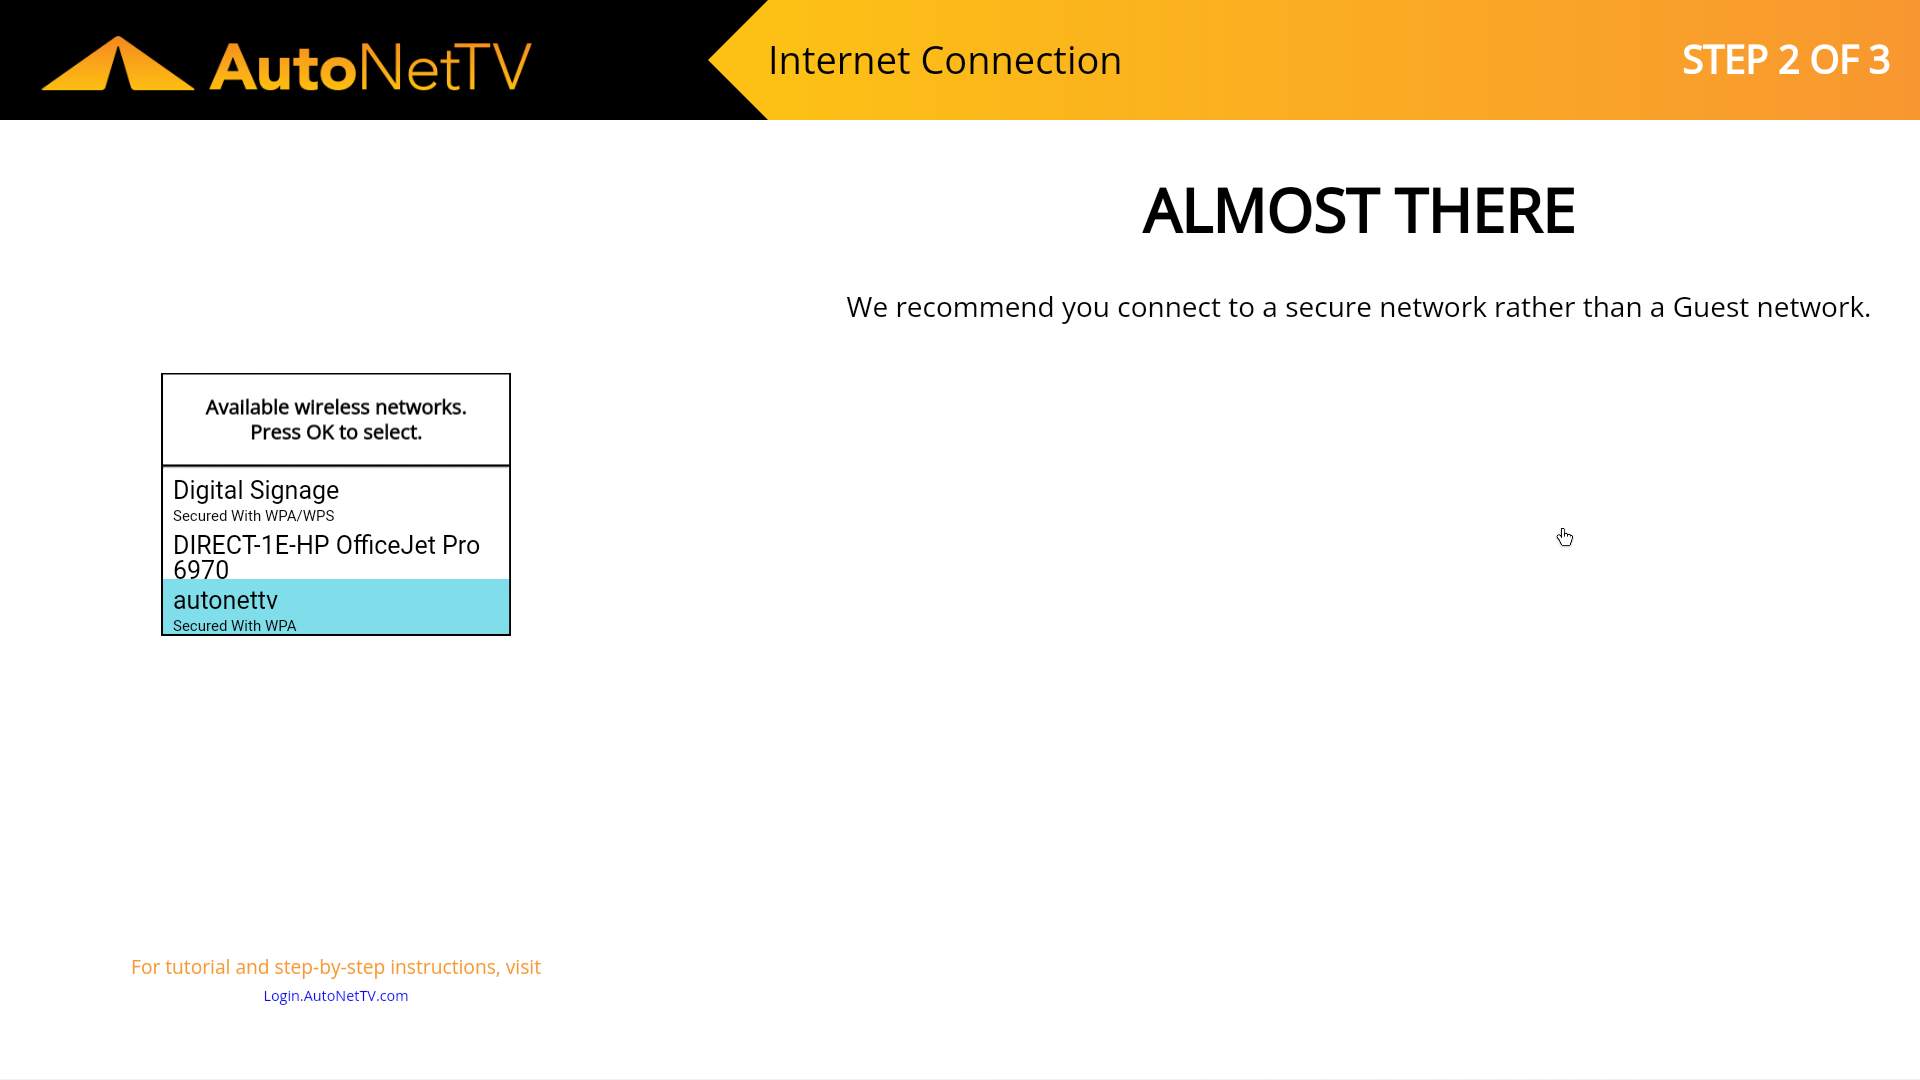
Screen 3 - Wireless Network Selection. If you choose Wireless, the device will display the available Wi-Fi networks. Use the up/down arrows to highlight your desired Wi-Fi network, and then press the round OK button.
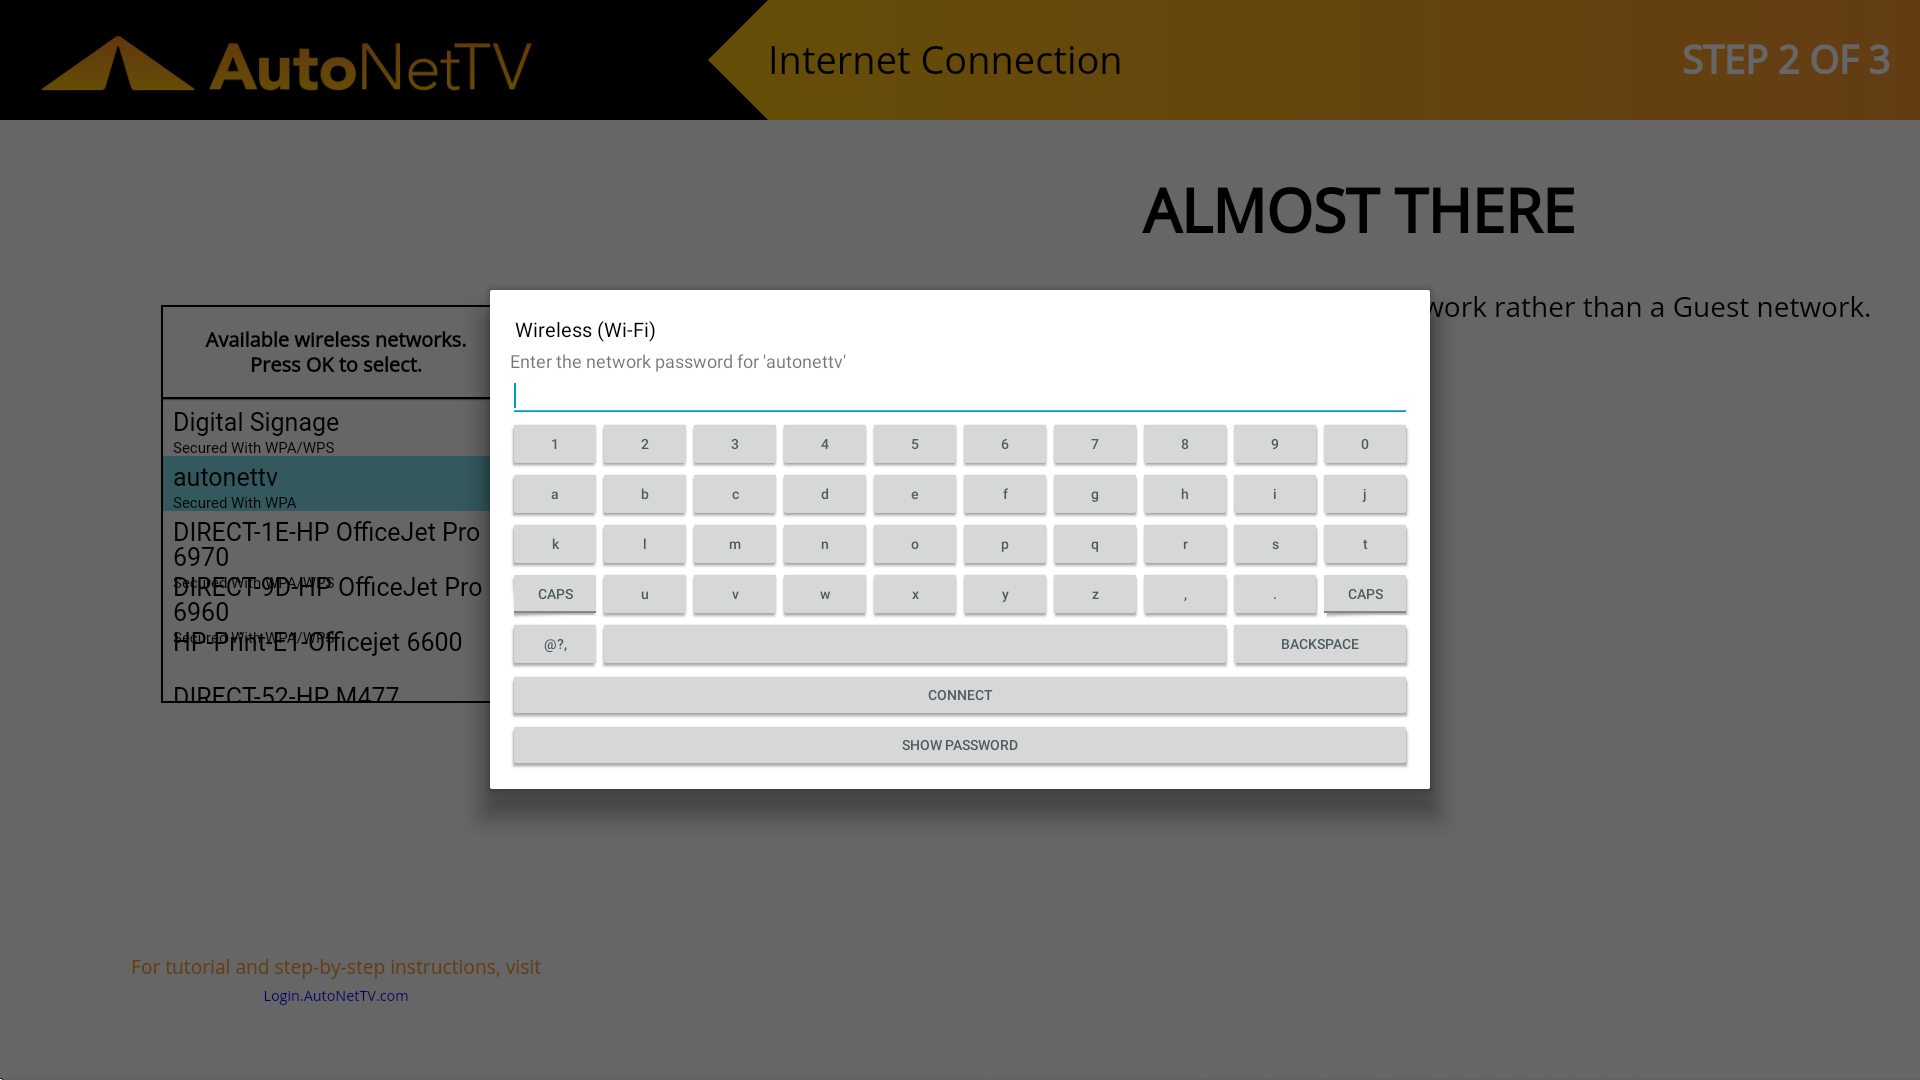
Screen 4 - Wireless Network Password. If you choose Wireless, the device will now prompt you to enter the password for the Wi-Fi network you just selected. Use the on-screen keyboard to enter your Wireless password. Use the @?, button in the on-screen keyboard to access special characters.
Screen 6 - Activation Your device will automatically check in with our servers and find your account.
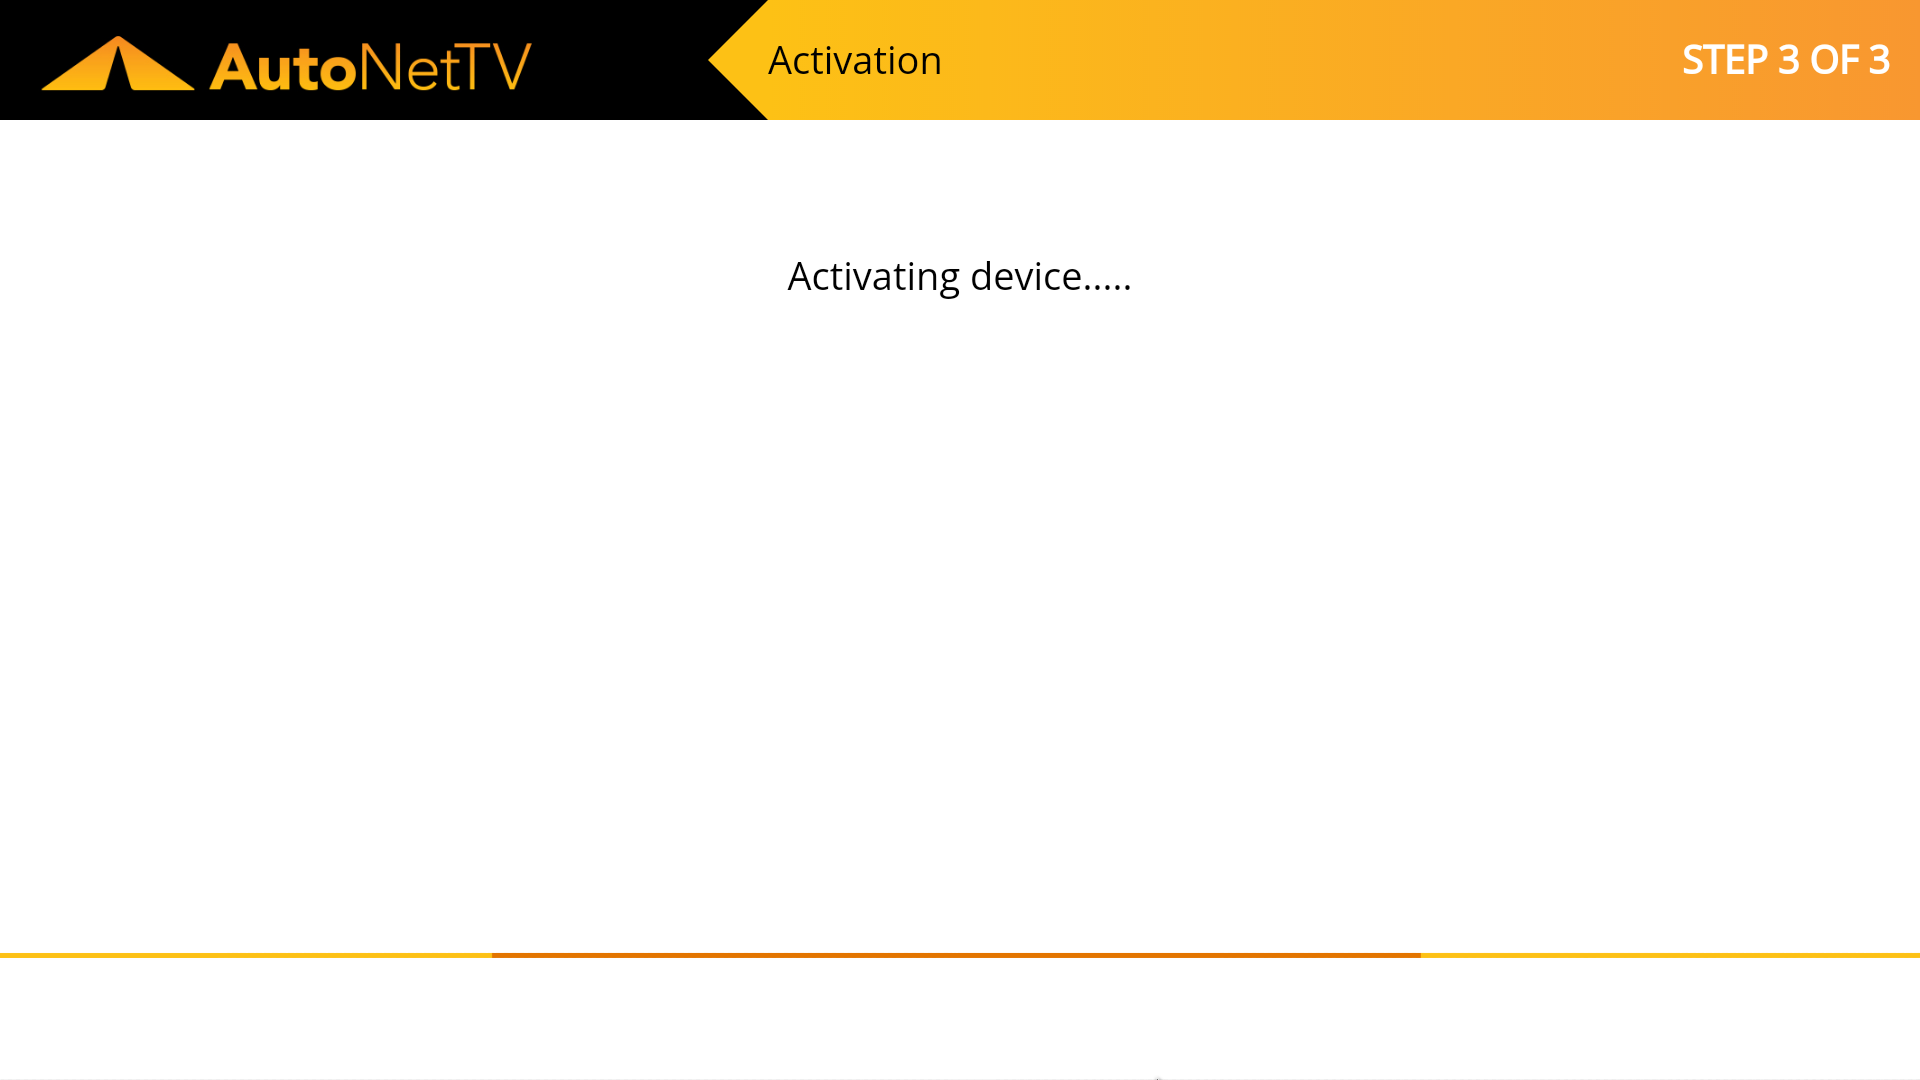
Screen 8 - All Done! Yes, you are awesome.
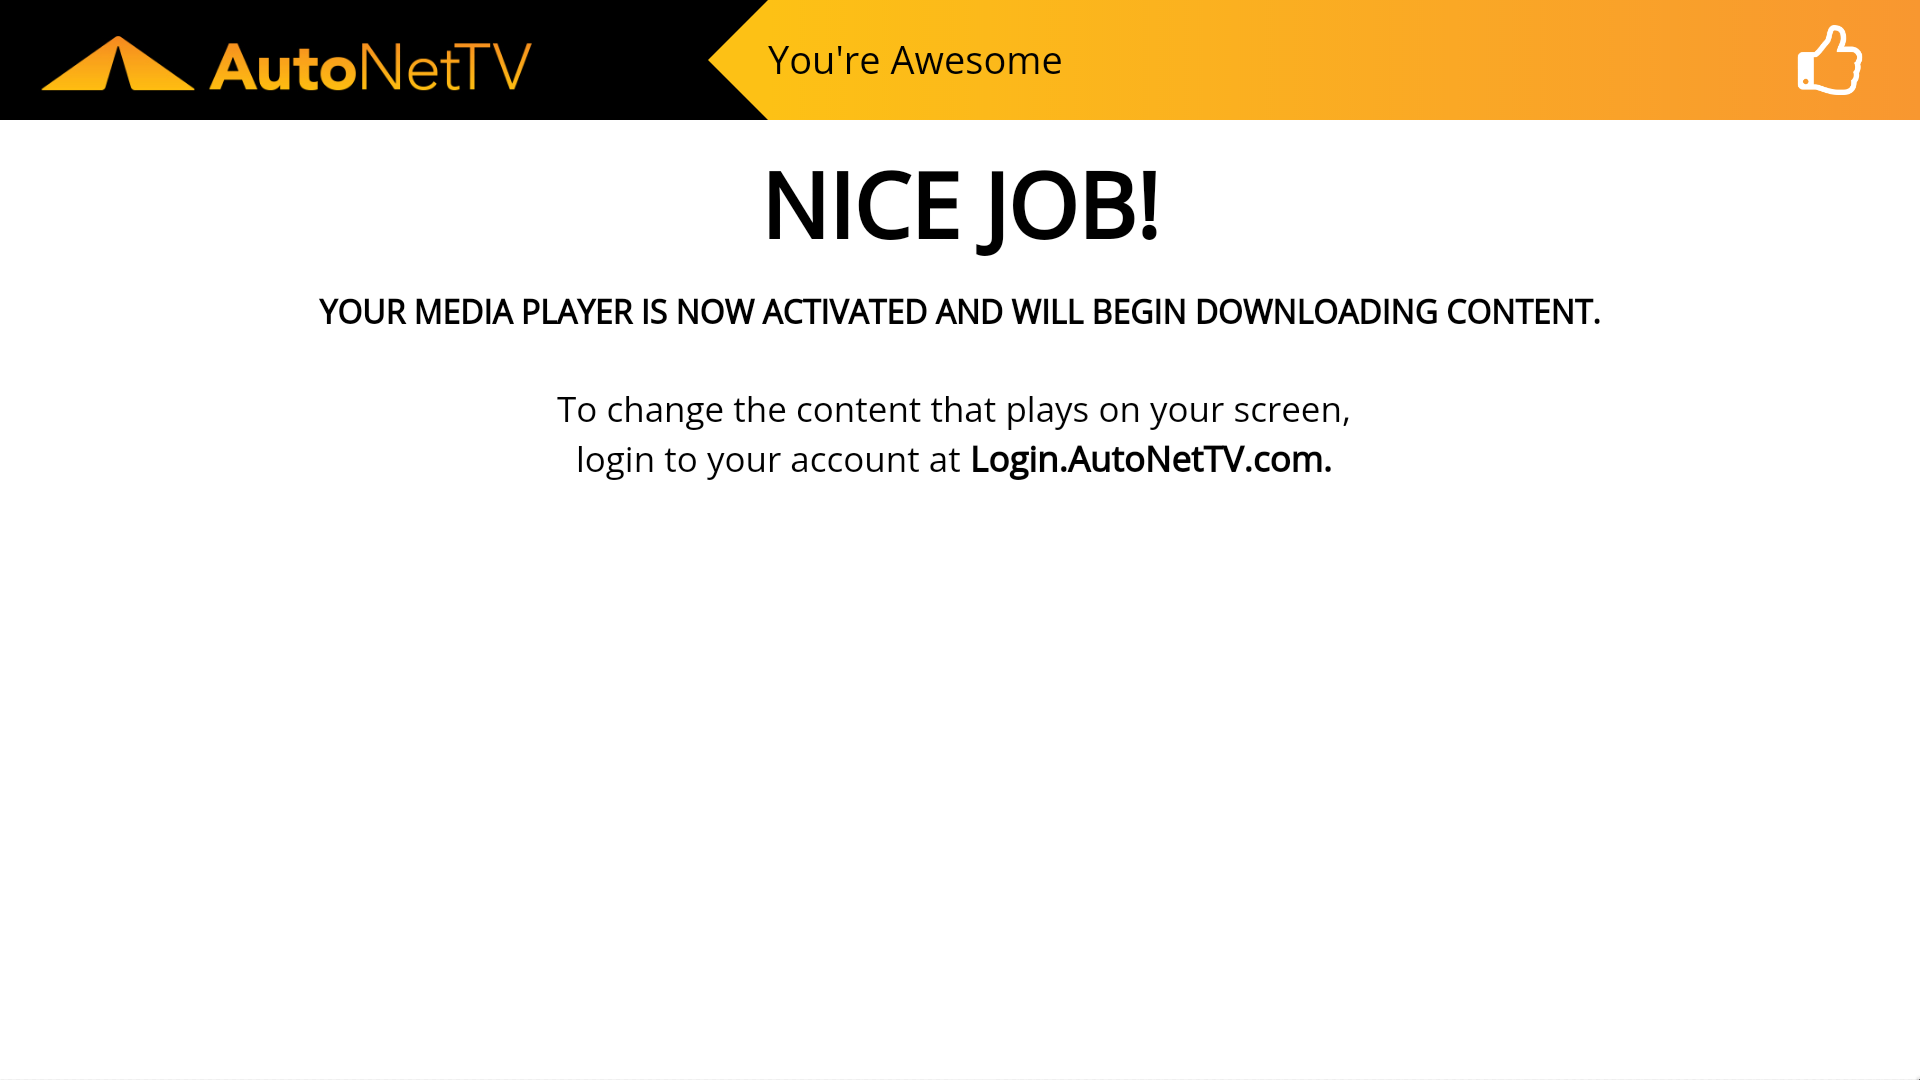
Screen 9 - File Download. Once activated, the device will connect to our servers and start downloading content that will rotate and display on screen for your program playlist. To make any changes to the services and prices on your menu, or to choose the service topics for which videos will display, simply login to your account at Login.AutoNetTV.com.
Customer support service by UserEcho

