Creating My Own Custom Content from Scratch
To watch a video on this topic, click the video below and skip to Begin at the 4:11 time mark.
The AutoNetTV Drive system gives you the ability to create your own content and templates for use with your Menu Board device. To create your own content, click on your User content tab, and then click on the orange Create button.
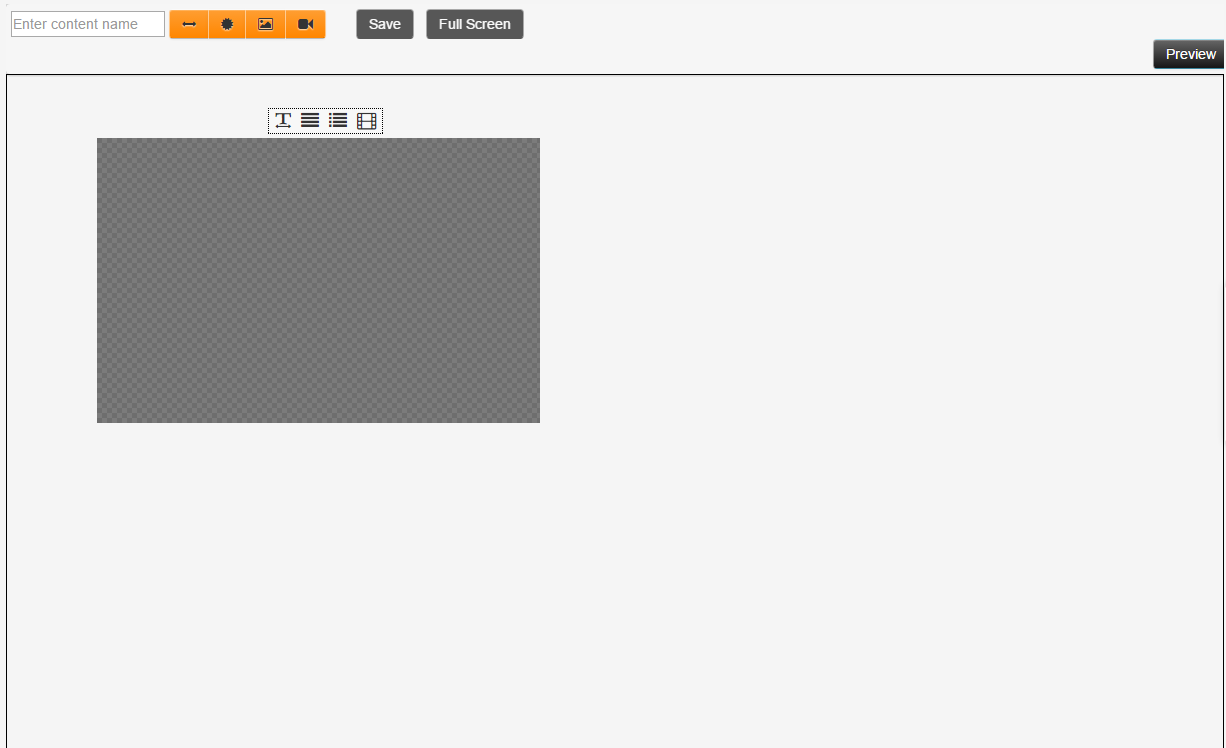
You will now see the blank content canvas on the right side of your screen.
At the top of the screen you'll notice your primary toolbar.

You'll only see Delete Content Block if you have clicked to select an existing content block. The other options on this toolbar are:
- Enter content name - this is where you'll type the name for an asset you wish to save. If a name already exists in this line, you can delete it and give the file any name you wish.
- Aspect ratio - to adjust the size of the entire content region. The default will work for 99% of creations, so you shouldn't have to edit this setting.
- Background color - this will fill the entire background with a solid color of your choice.
- Background image - this will replace the entire background with an image of your choosing.
- Background video - this will replace the entire background with a video of your choosing. If you choose a background video, you should only put text or pictures on top of it - NOT other videos.
- Save - this will save your work to your User tab. If you're editing an existing creation of yours, you will have a Save As button - so you can keep your original and create a new copy in your User tab.
- Full Screen - this previews your masterpiece full-screen.
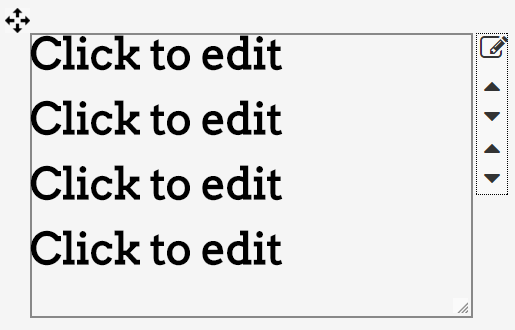
To begin creating content, move your mouse cursor over the canvas area. Hold down your left mouse button, and draw the size of object you want to add (don't worry - you can edit the size later). Let go once you've created the size you want. You'll now see a gray area with 4 options on the top of it - as seen here.
These 4 content block options are:
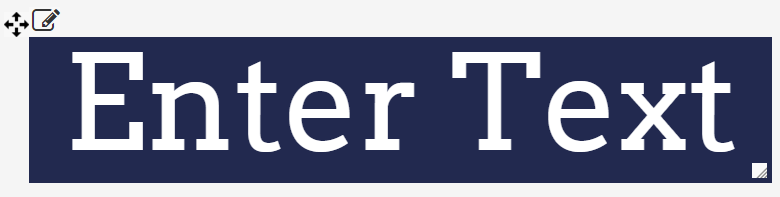
- Fill Text - the text in this block expands or shrinks to fit the size of the block, based on the number of characters type. You can type as much as you want, but the font size will continue to shrink to fill the space. Editing options for this content block are limited.
- Multi-line text - this text area allows for several lines of text to be grouped together. You can use this for only one line of text as well. This block allows you to adjust the alignment of the text (Left, Center or Right), and to change the spacing between text lines.
- Menu - this text area is the same as the multi-line text above, but adds a column on the right of the text for you to enter a price for each service line of text. The advantage is they are lined up evenly, horizontally.
- Image or Video Slideshow - this is a playlist of video and/or image assets that play within a fixed content area. You can add as few or as many assets as you'd like. NOTE - if you choose a Background Video for your entire creation, DO NOT add videos in a content region as well. Only add images or text on top of a background video.
The longest "playlist" region loop in your content creation will determine how long the asset will remain on your screen. For example, if you have a video slideshow with a loop of 3 minutes, and an image slideshow loop of 30 seconds, then the entire asset will remain on screen for 3 minutes. During that time, the image slideshow will loop 6 times, while the video slideshow will only play through once.
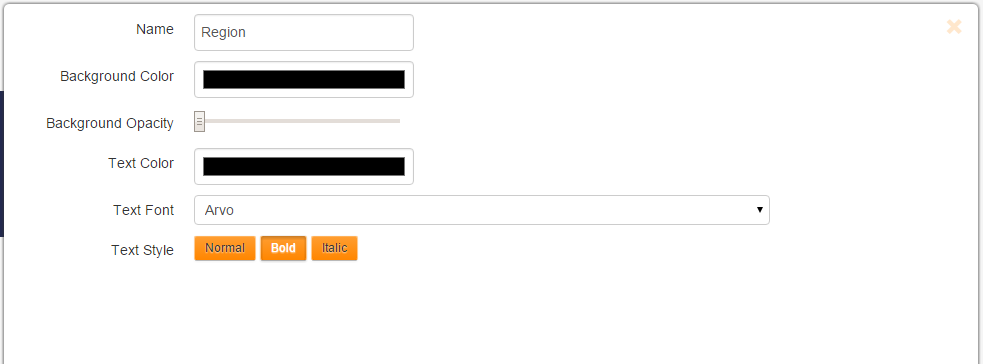
When you click on a content block, you will see a cross hair (arrows pointing four directions) that allows you to move the object around, and an Edit button, that looks like a pencil on a paper.
Clicking Edit will open a window of options available to customize this block of content further. The options will vary slightly depending on the type of content block you're editing. For most, this is where you'll edit font color, font type, font style, and other settings.
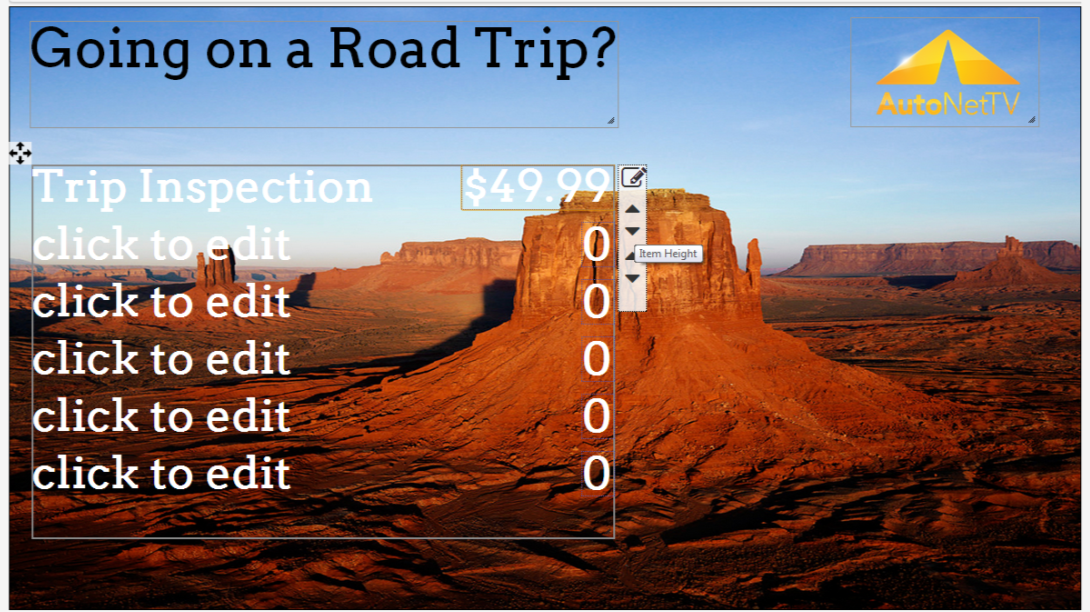
To increase a font size for multi line text items, click the up/down arrows on the outside of the content block. To increase the font for a Text Fill region, grab and drag the handle in the bottom right corner to expand or shrink the block. This will automatically adjust the font size.
Here's an example of a custom creation that uses a Background Image, Fill Text region, Image slideshow region, and Menu text region. This asset creation will only display on screen for 15 seconds - since that is the length of the 1 image in the image slideshow playlist at top right.
Once you’re done making your changes, click the Save button. This will save your creation in your User tab. You can open your creation again, make changes, and then choose Save As - which will create a 2nd version of your creation. You can make and save as many changes and variations as you'd like.
To insert your content into your program, simply find the asset thumbnail in your User tab, and then drag-and-drop it into your Menu program.
If you want to follow some more tutorials for new users, you can learn all the cool features and basics by clicking here http://autonettv.com/newuser.
Customer support service by UserEcho