Using the Image Editor
AutoNetTV Drive has a built-in image editor that you can use for any image in the system - whether it was uploaded by you, AutoNetTV, an Industry provider, or your Corporate group.
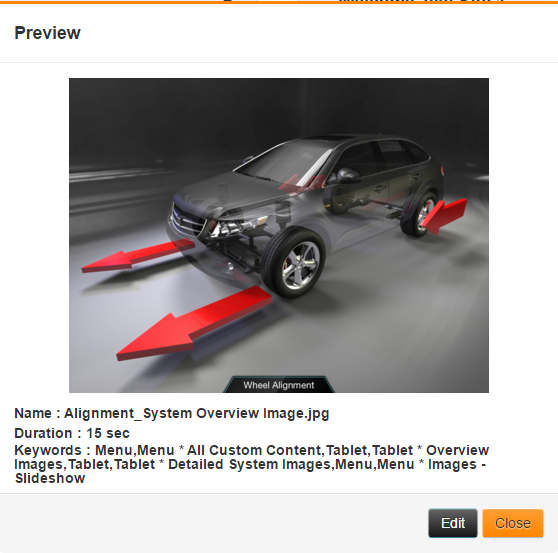
To edit an image, double-click on its thumbnail to open the Preview window. In this window, you'll notice an Edit button. Click this to open the Adobe Image Editor.
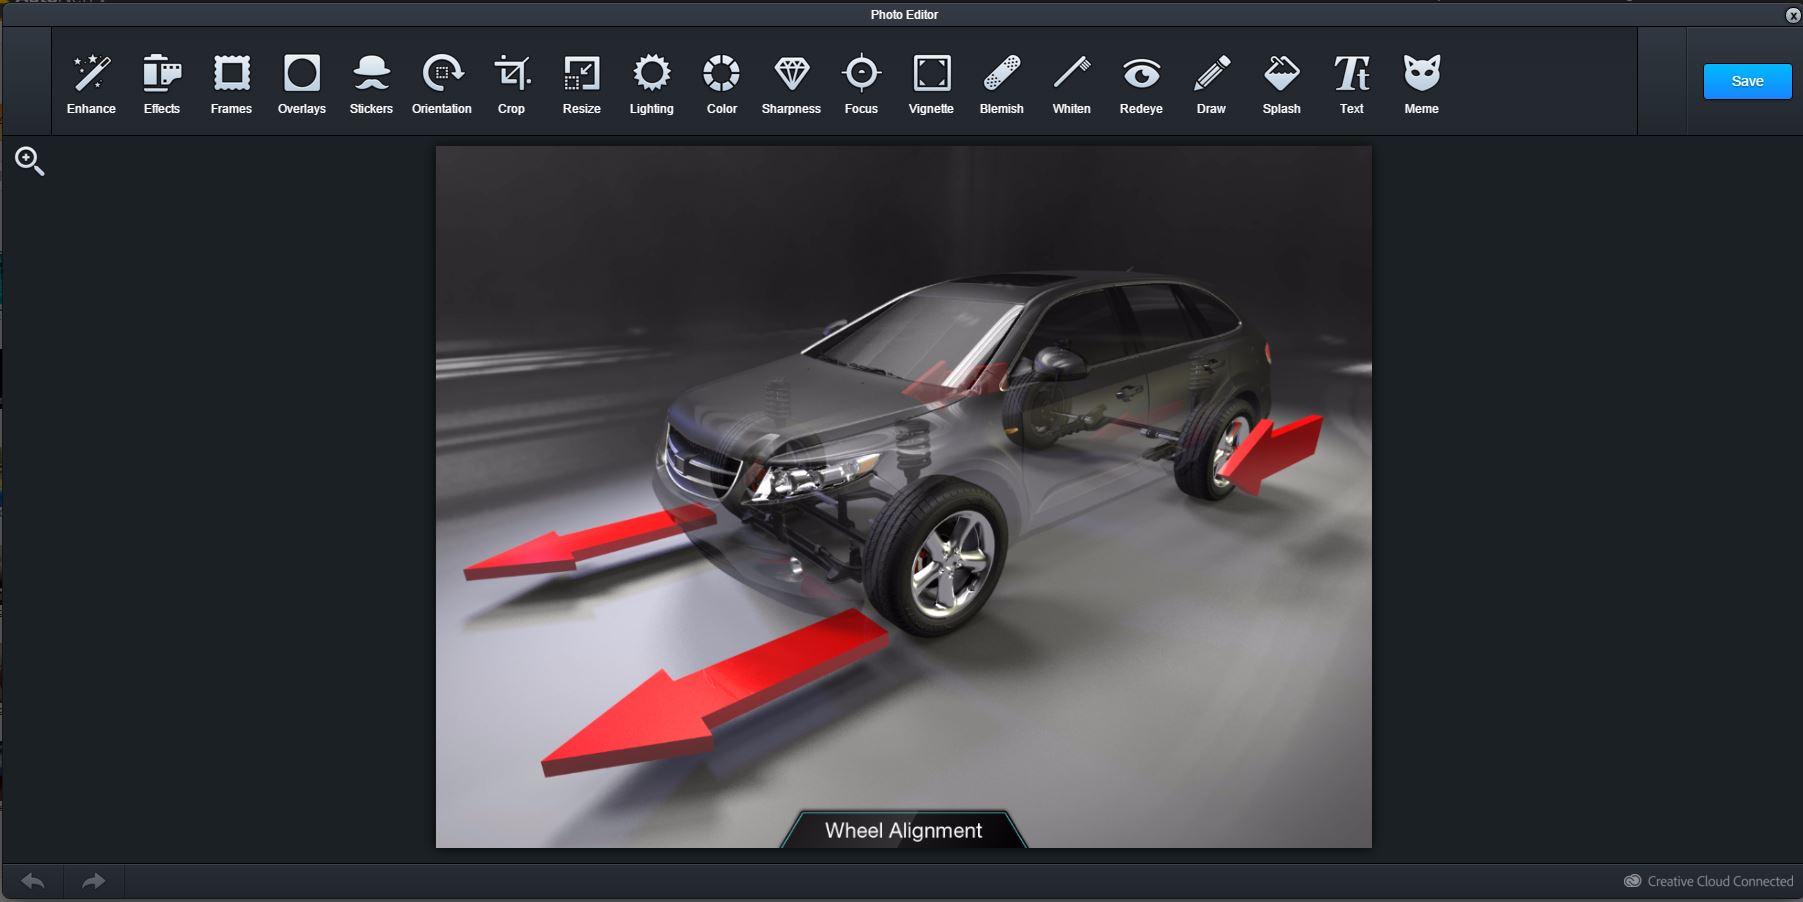
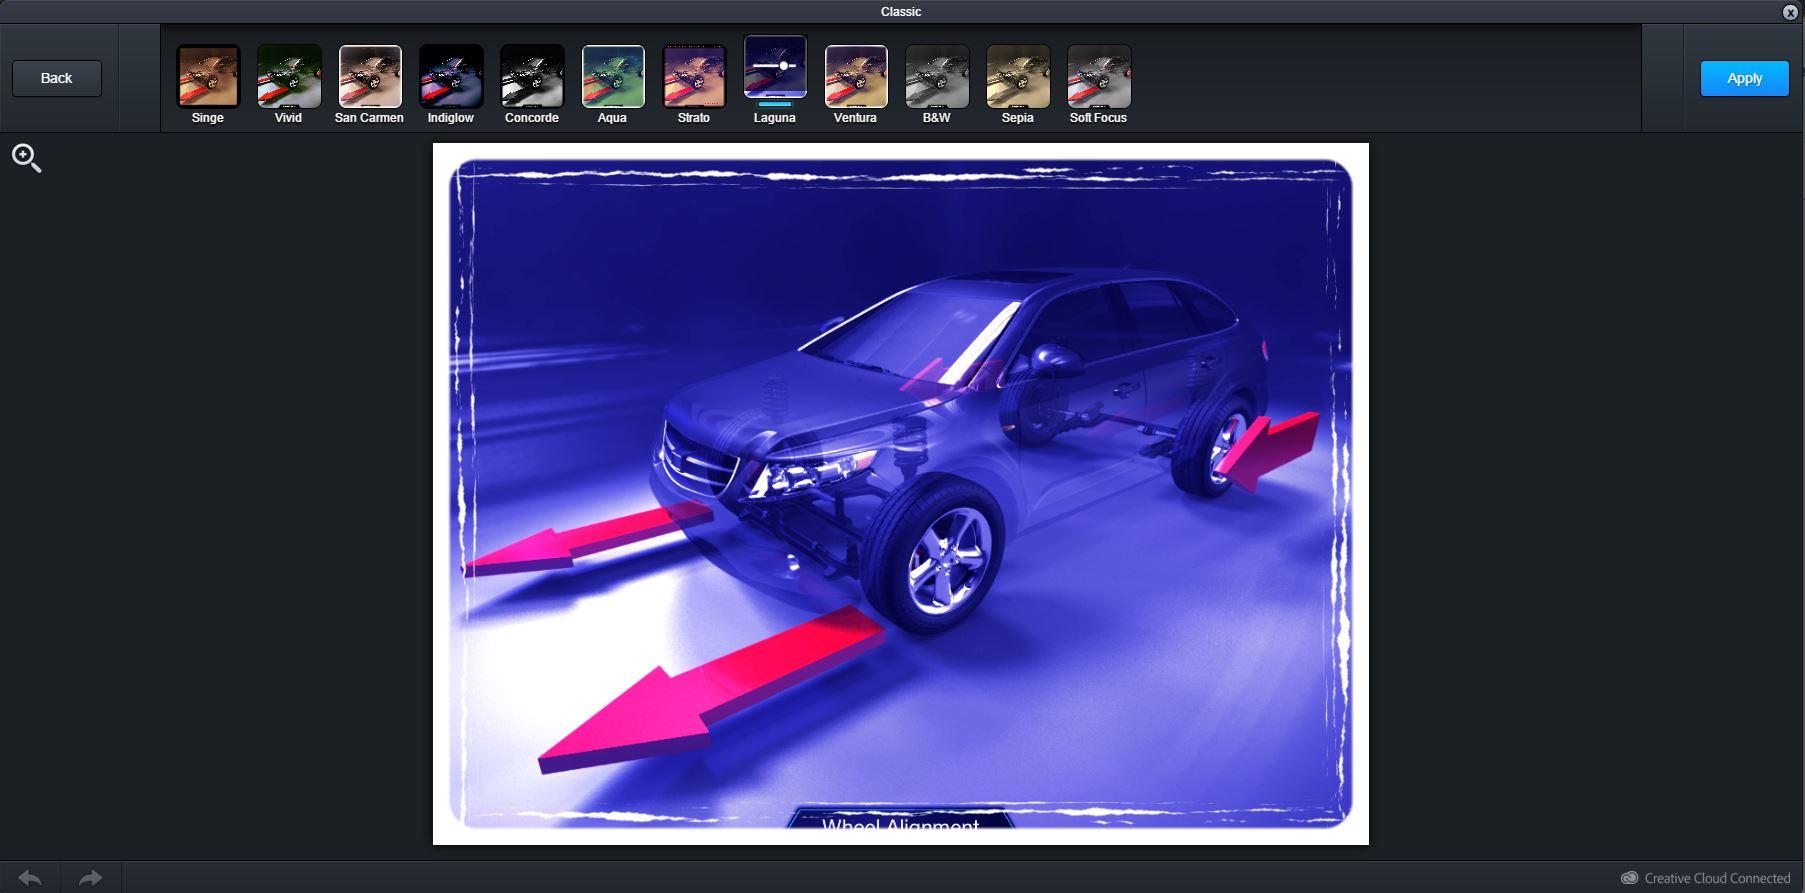
You'll now see the main screen of the Adobe Image Editor. You have several options from which to choose - such as Effects, Stickers, Frames and Text.
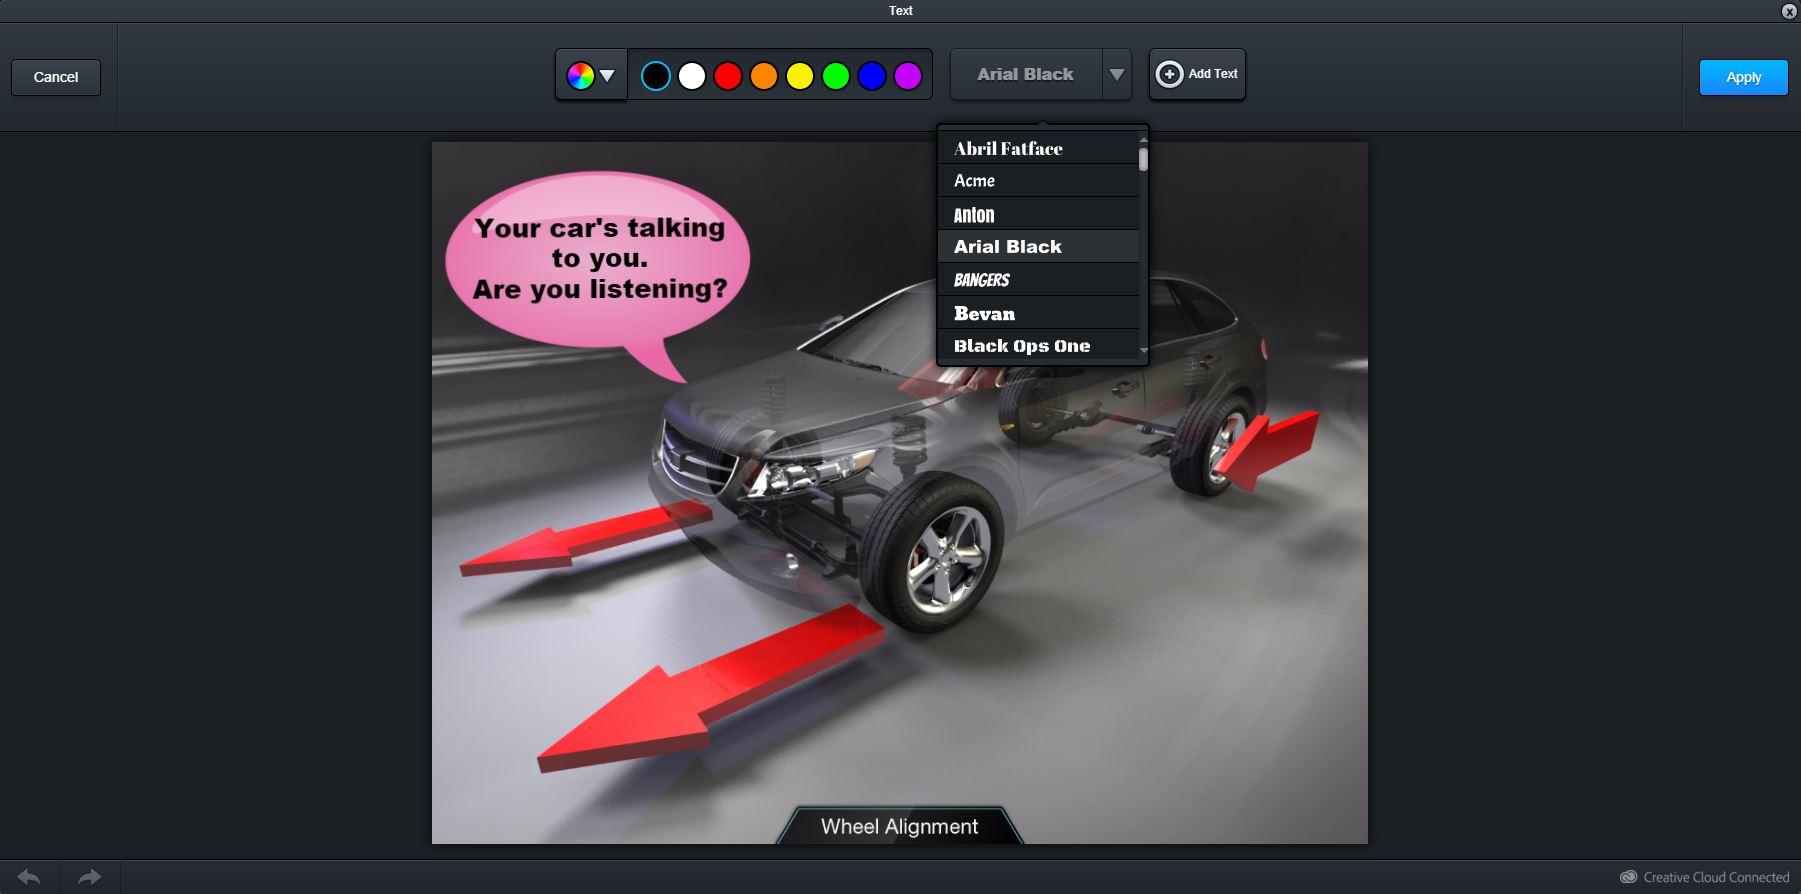
You can cancel or save any changes you make in each individual section, and then move to another section of design and add those changes on top of others. When you save your changes, the system will create a brand new image into your User tab of content. Your changes will NOT impact the original image. Instead, these changes are saved as a brand new image in the system.
If you want to follow some more tutorials for new users, you can learn all the cool features and basics by clicking here http://autonettv.com/newuser.
Customer support service by UserEcho